ServicesSolar Panel Installation
Solar Panel Installation in Midvale
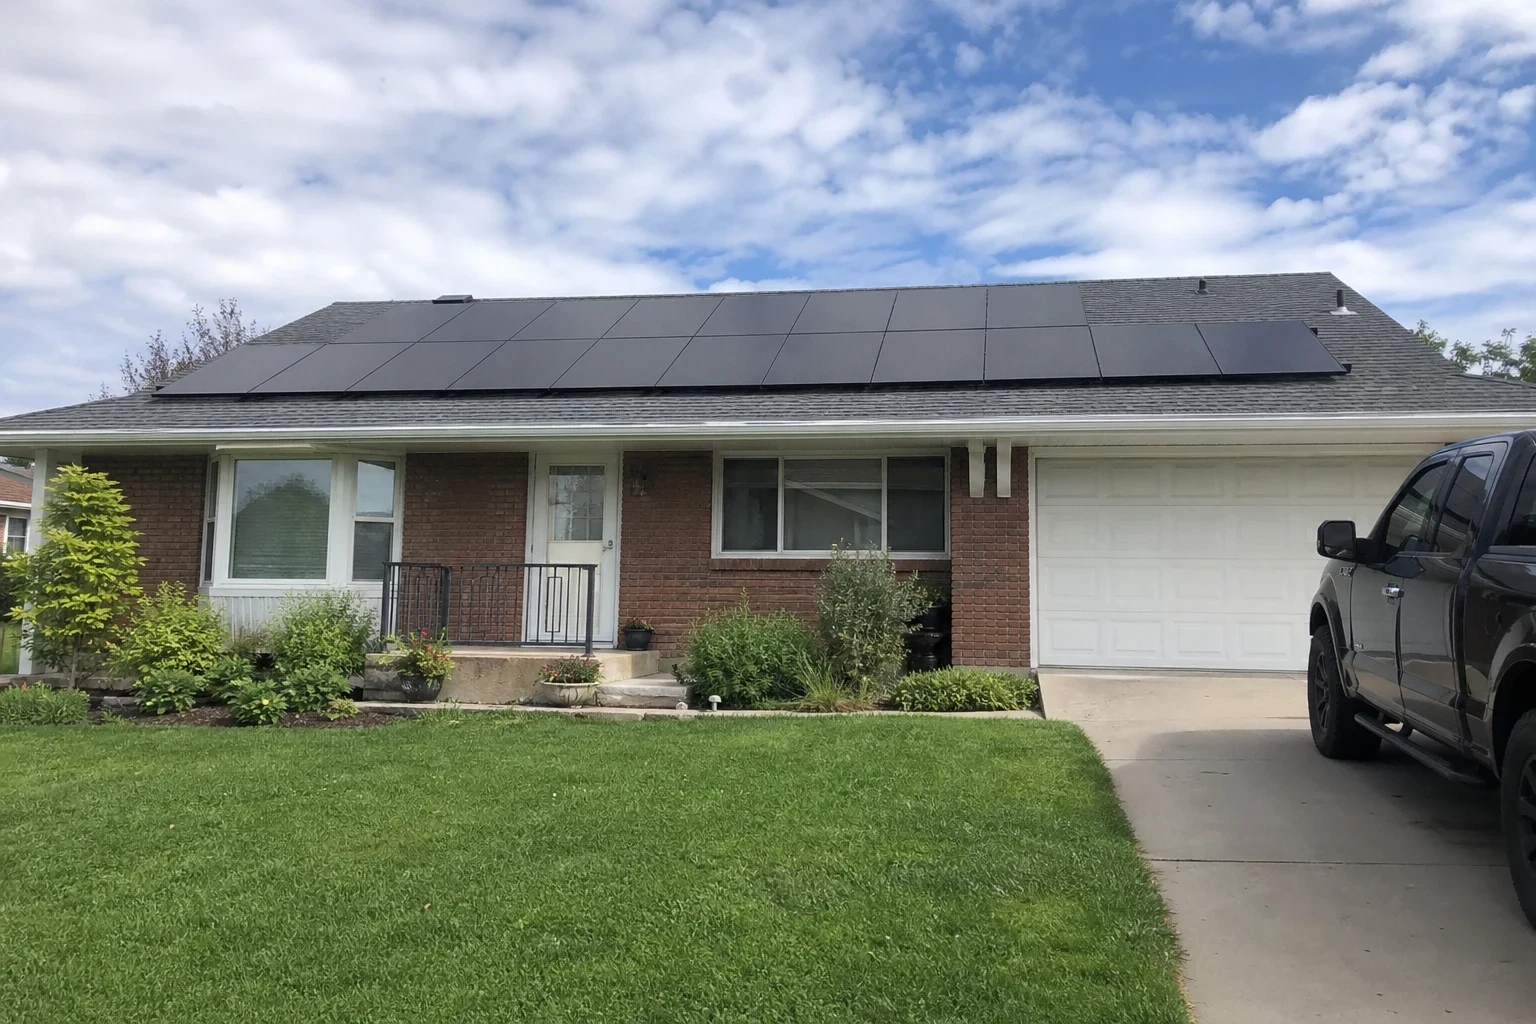
We install solar arrays on shingle and standing-seam metal roofs and connect them to your home's electrical system. Before any design work, we look at your roof, your main panel, service size and wiring, because older houses often carry past repairs and outdated parts that decide how the system can safely tie in.
What a Rooftop System Involves
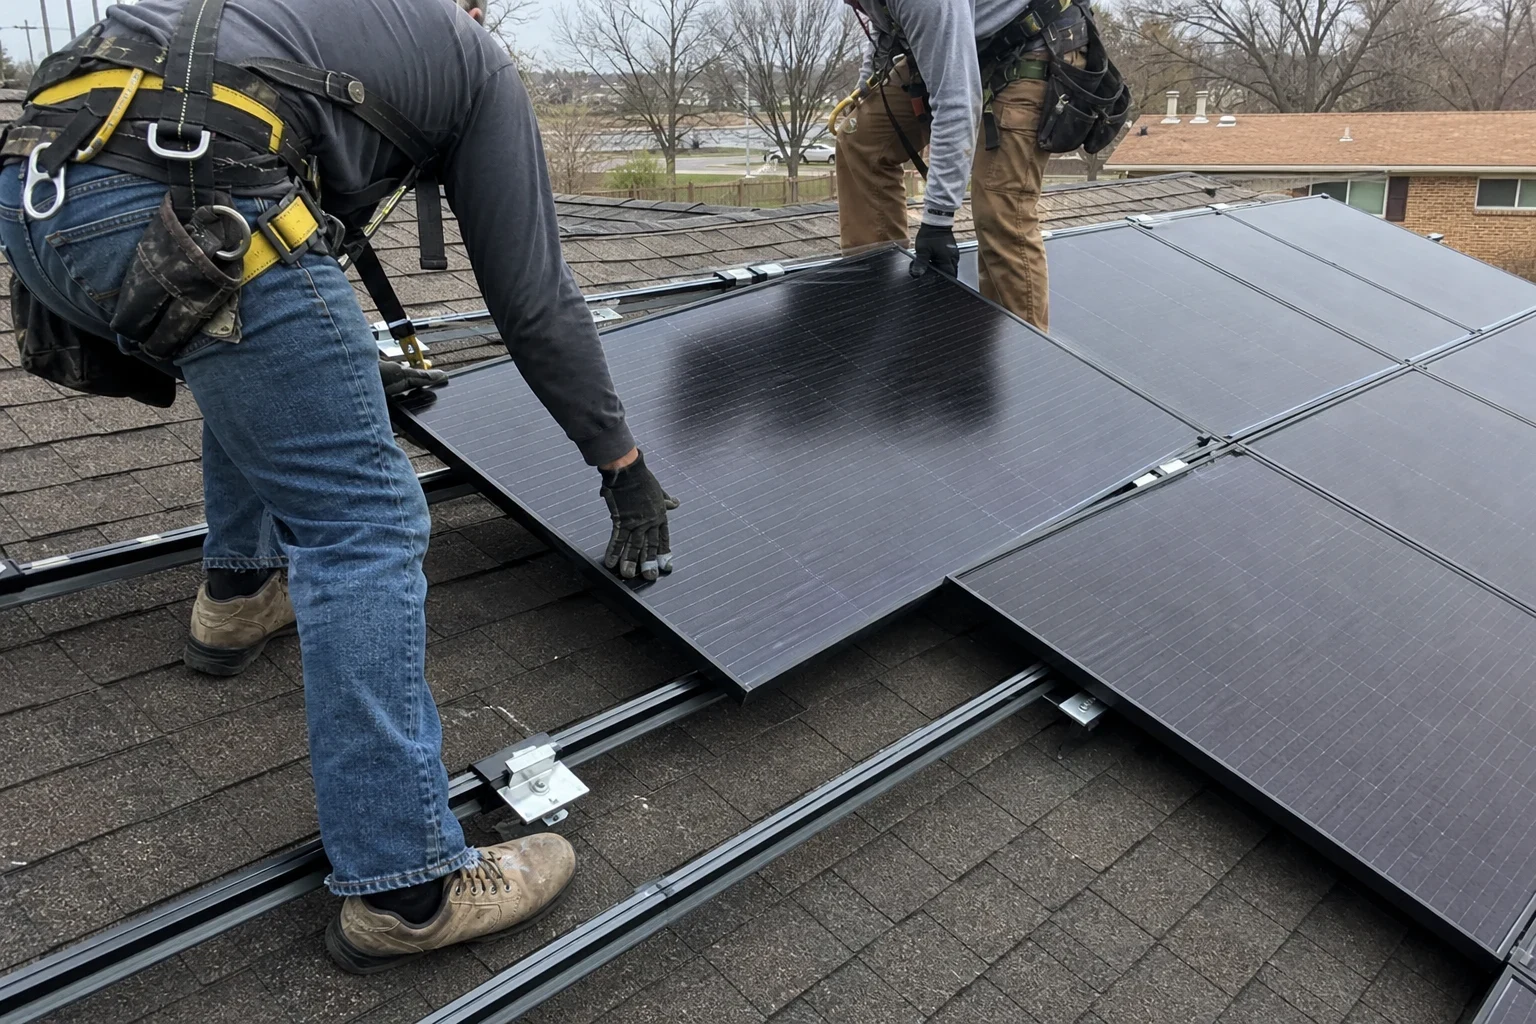
A rooftop array sits on low aluminum rails fastened through the roof into the rafters, with each attachment flashed to keep water out. On standing-seam metal, clamps grip the seams so nothing pierces the panels. The modules feed an inverter, the DC power becomes AC, and conduit carries it down the wall to the equipment and your home's electrical service.
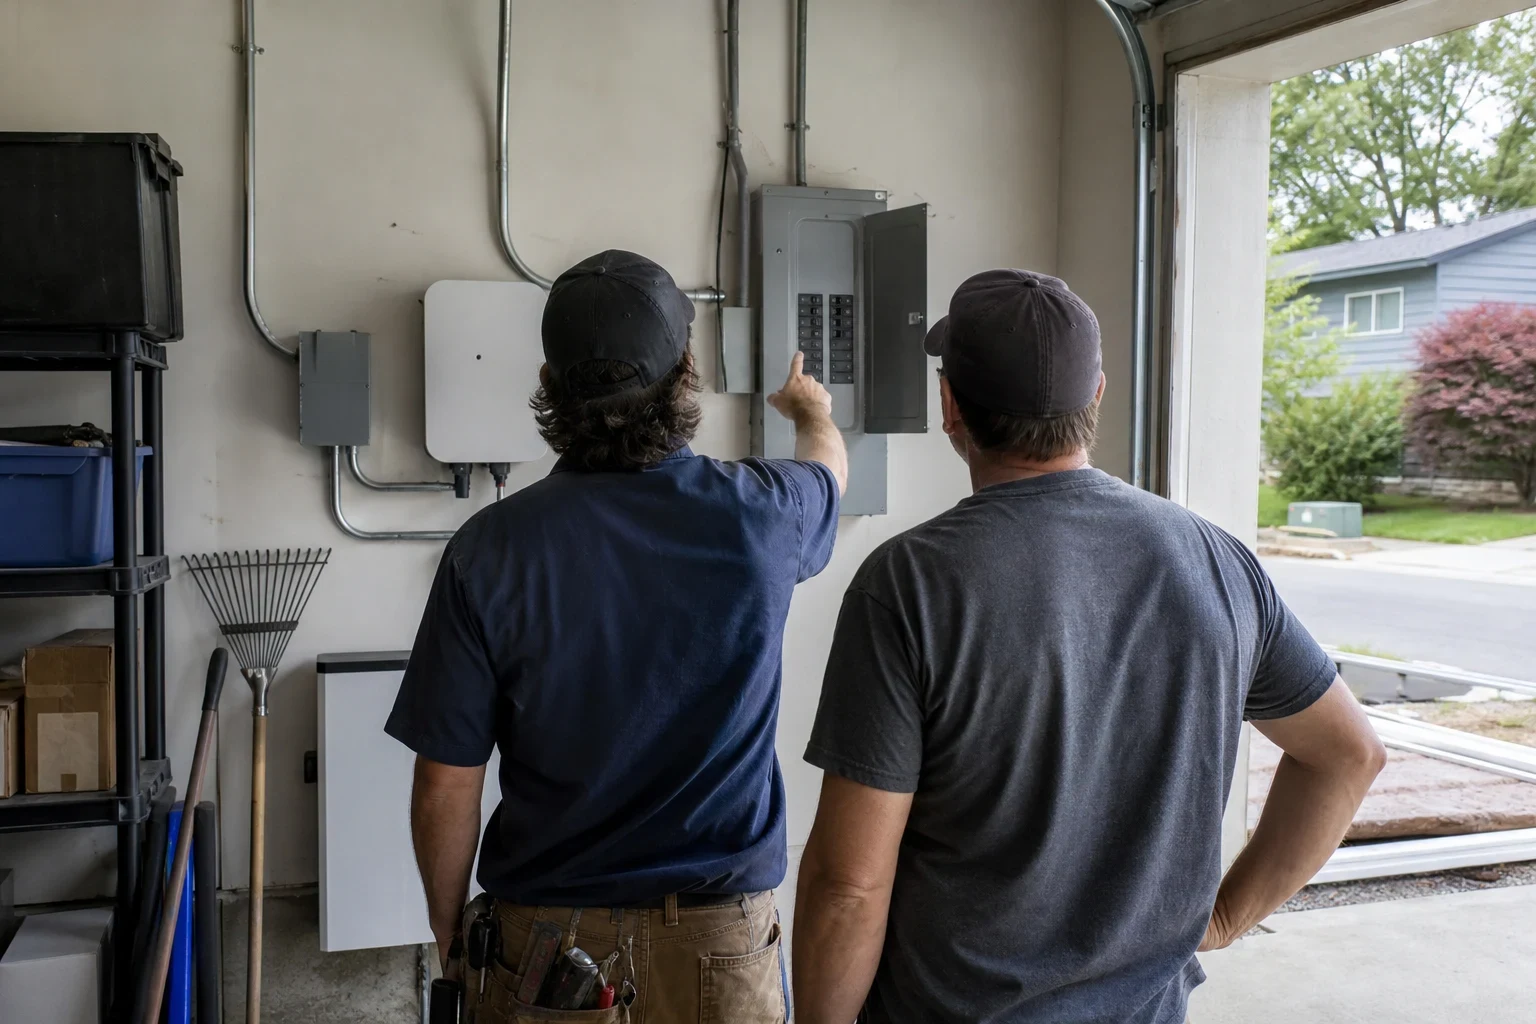
The tie-in is where older homes need the most attention. A main panel with a 100-amp bus, a breaker brand that is no longer made, or ungrounded circuits from an earlier remodel can all change the interconnection plan. We find those conditions on the first visit and design around them, so the inspector sees a clean, code-compliant connection and you do not get a change order halfway through the job.
What Our Installation Includes
- Electrical service evaluation
- We open your main panel and record the bus rating, main breaker size, grounding and the condition of the breakers. This tells us whether solar can back-feed the existing panel or needs a supply-side connection instead.
- Array layout and production estimate
- We lay out the array on the roof planes that get the most unshaded sun across the year, keeping clear of vents and roof edges. You see the estimated annual production before you decide anything.
- Attachments, flashing and racking
- We locate the rafters, check their spacing and fasten each mount into solid framing, with flashing under the shingles at every attachment. On metal roofs we use seam clamps. The racking is rated for local wind and snow loads.
- Conduit to the equipment wall
- We route rated conduit from the array down the side of the house to the equipment wall, along the shortest tidy path, secured and sealed where it passes the roofline.
- Inverter, disconnects and labeling
- We mount the inverter or microinverter equipment, install the required AC and DC disconnects and apply the labels inspectors and utility crews look for.
- Permits and utility paperwork
- Our office applies to the city for the building and electrical permits and books each inspection visit. We also handle your request to connect to the utility grid and answer any follow-up questions the utility raises.
Signs a Rooftop System Fits Your Home
Summer bills keep climbing
If air conditioning drives your bills up every July and August, that is the load solar offsets best, since production peaks in those same long days.
A roof with years of life left
Panels stay up for decades, so the roof under them should too. If your shingles are worn or patched, replacing them first saves pulling the array off later. We check roof condition on the first visit.
A roof plane with southern or western exposure
A roof face that gets sun from mid-morning to late afternoon, without heavy shade from trees or neighboring buildings, is often all an array needs.
Your electrical panel is due for attention anyway
If an electrician has already flagged an undersized or obsolete panel, pairing that update with solar handles both in one planned project.
An electric vehicle or heat pump is coming
New electric loads raise your usage. Sizing the array for them now avoids adding panels later. Our Solar System Add-Ons page covers chargers and other upgrades.
How the Project Runs
- 1
Savings analysis and site visit
We review a year of your utility bills, then look over your roof and inspect your electrical service. You get a written proposal showing system size, layout and expected production.
- 2
Design and permits
Our design shows the array layout, attachment points, conduit route and interconnection method. We take it to the city for permits and to your utility for interconnection review, and handle any corrections they ask for.
- 3
Installation days
The crew sets and flashes the roof attachments, mounts the rails and panels, and runs conduit down to the equipment wall. The electrical tie-in is usually done in a single short power shutoff that we schedule with you in advance.
- 4
Inspection and permission to operate
The building inspector checks attachments, wiring and labeling. Once the utility approves and updates your meter, we turn the system on and show you how to read its monitoring.
What Moves the Price
Every quote is built from your usage, your yard and the condition of your electrical service. We put each item on a written line-item estimate, so you can see exactly where the cost comes from. We also offer $0 up front.
- System size
- More panels mean more racking, roof attachments and inverter capacity. Size follows your annual usage and any loads you plan to add.
- Roof type, pitch and condition
- Steep pitches, multiple roof planes and worn shingles add labor. Standing-seam metal uses clamps instead of flashed mounts, which changes the hardware.
- Electrical service upgrades
- An older 100-amp panel, outdated breakers or missing grounding may need correcting before the system can connect. We show you what we found and why it matters.
- Equipment choice
- String inverters and microinverters differ in cost, monitoring detail and how they handle partial shade. Adding Battery Storage also changes the total.
Solar Panel Installation Questions
Something not covered here? (801) 761-4045
Why do you inspect my electrical panel before designing the system?
Electrical code limits how much solar can back-feed a panel based on its bus and main breaker ratings. Older homes often have smaller panels or breakers that are no longer manufactured. Checking first means the design is accurate and the quote does not change later.
Will mounting panels cause my roof to leak?
Not when the attachments are done right. Each mount goes into a rafter and gets flashing that slides under the shingle above it. On standing-seam metal, clamps grip the seams without drilling through the panels.
Can my roof handle snow and wind with panels on it?
We check rafter size and spacing and use racking rated for local snow and wind loads. The glass panels also shed snow faster than shingles, so production recovers quickly after a storm.
How long does the whole process take?
The installation itself is usually one to a few working days. Permitting and utility approval usually run longer than the build, because the city's plan review and the utility's interconnection queue control that part of the schedule. We tell you where things stand at every stage.
Is it worth planning for a battery even if I am not buying one now?
Often it is. During design we can choose a battery-ready inverter and leave conduit and breaker space so a battery ties in down the road without pulling out finished work. The Battery Storage page walks through backup power and load shifting in more detail.
Find Out What Solar Would Save at Your Home
We will review your bills and your electrical service, then show you the numbers in a free virtual appointment. It is a straightforward conversation with no pressure.